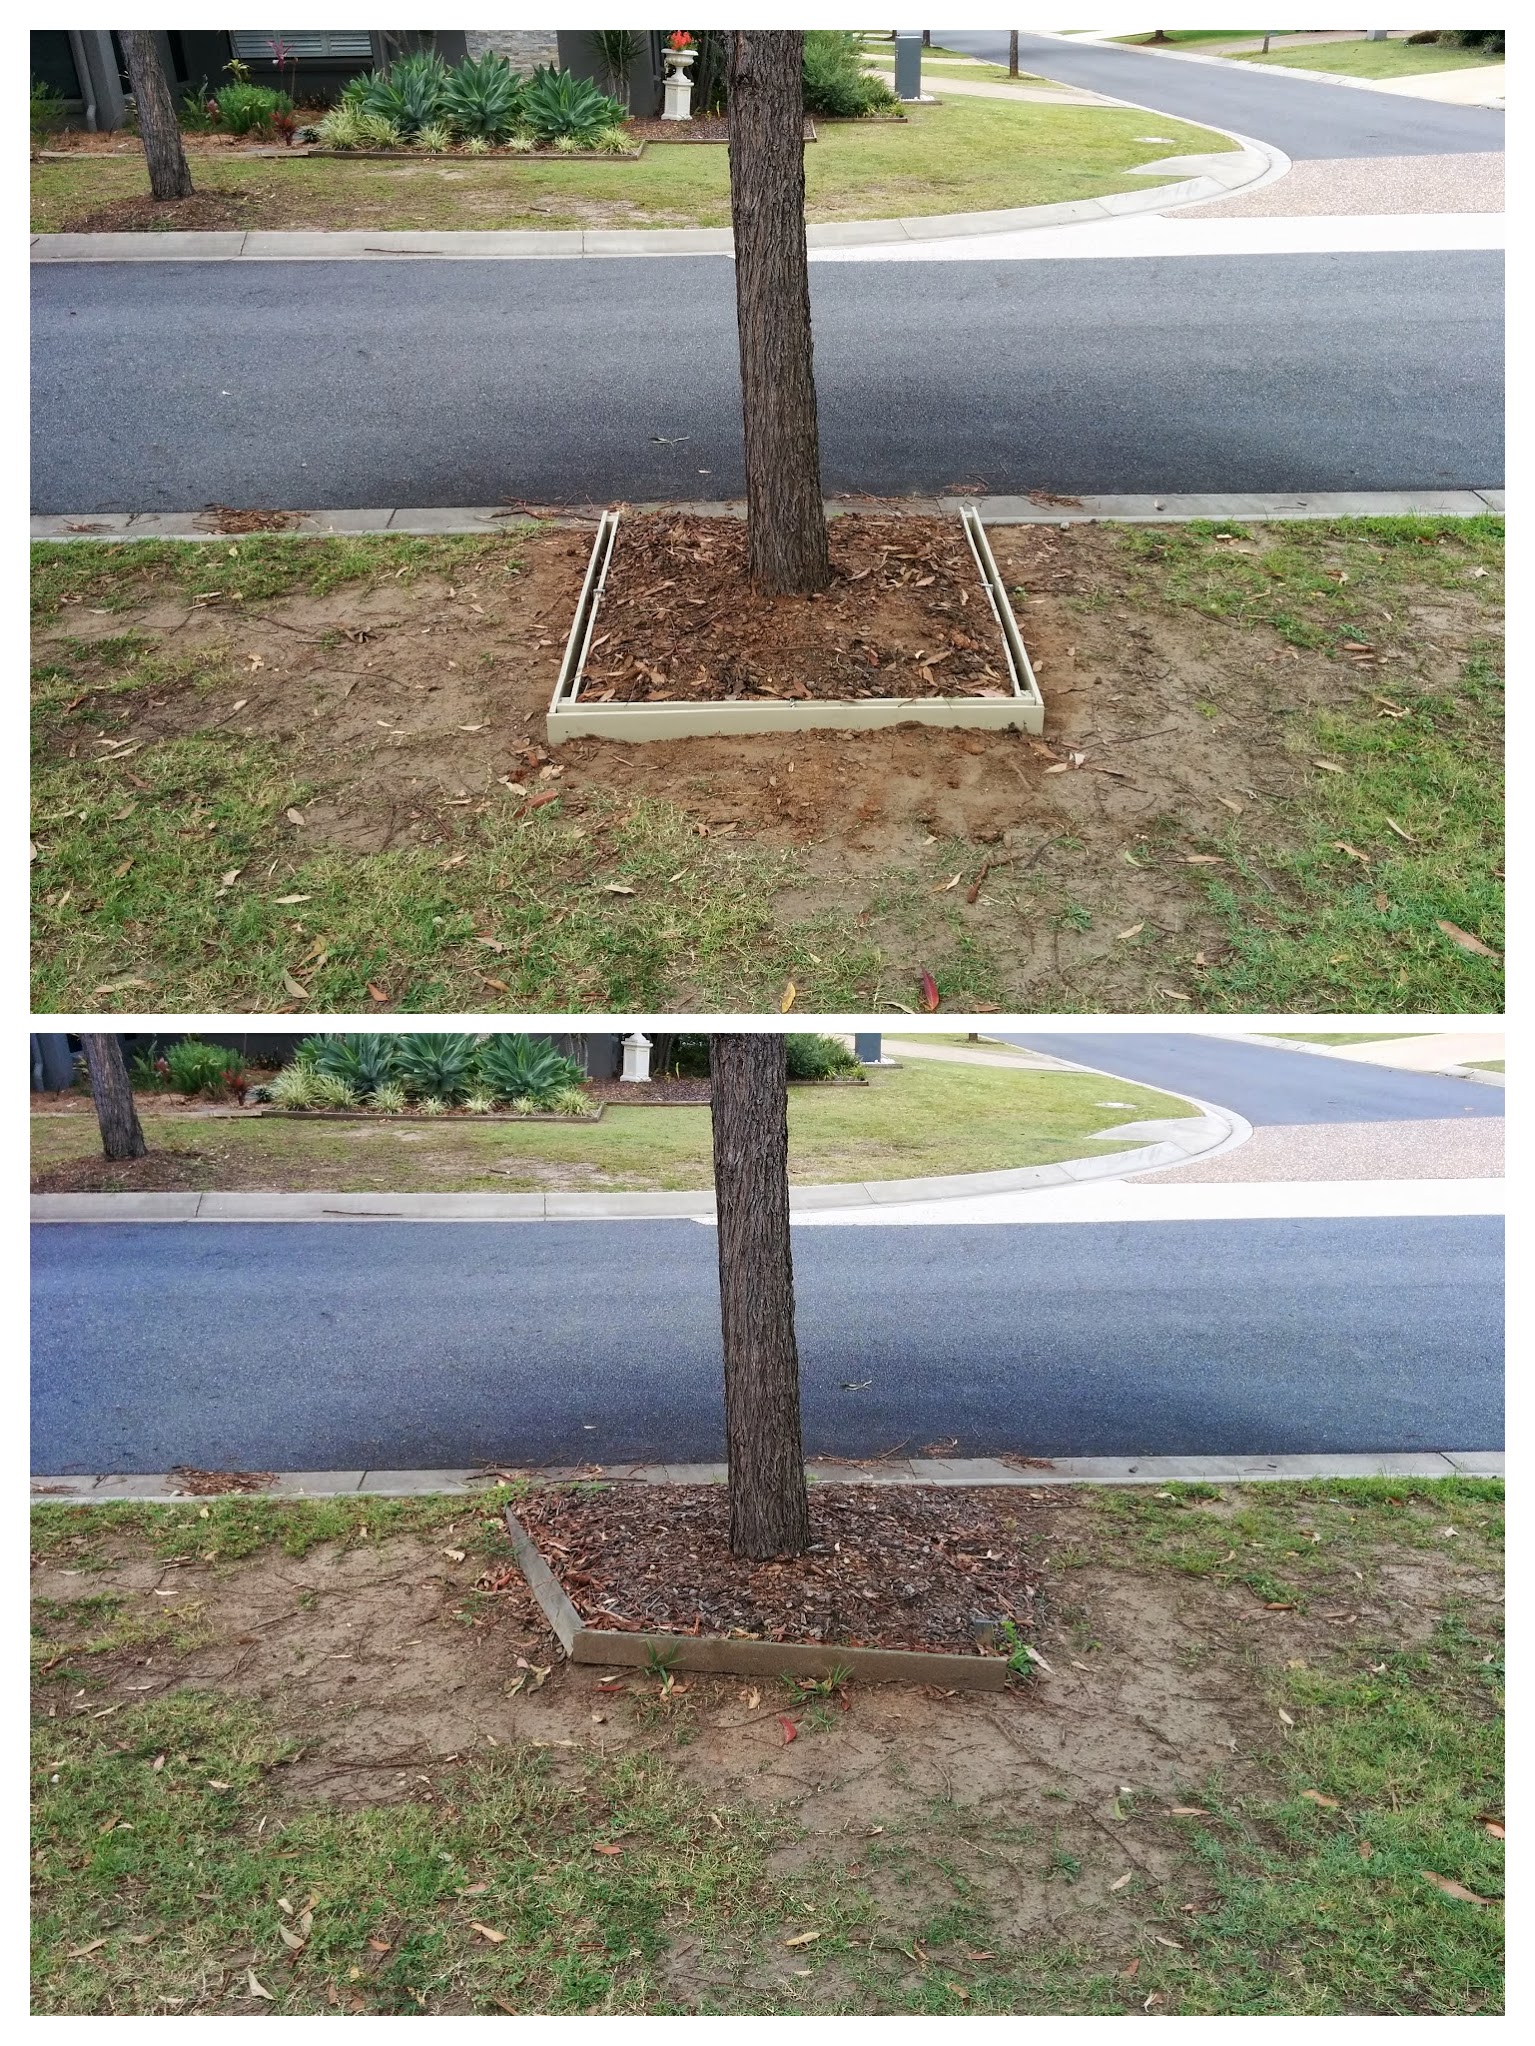
Recycling fence palings for tree borders
I had some old treated pine fence palings left over from when I replaced all the side gate palings. My wife suggested I use them to fix up the borders around the trees, so I took her advice and got it done over two weekends.
Would you use wood that would cost you nothing?
I would. Seriously, if you can get wood cheap or free, you take it and save some big cash. I could have gone and purchased some new wood from the hardware store, but that would have almost doubled the cost of the job.
The most time consuming part of the job was dressing off the old pine planks, and painting them. They were pretty rough and a mouse sander quickly took care of that.
| If you don’t have a bunch of palings lying around like I did, you might want to go to your local reclamation yard. There might be some good quality timber you can use there. |
Wood that wasn’t free
I did actually fork our for some new timber. The spacers required for the job were cut at the cutting station at Bunnings.
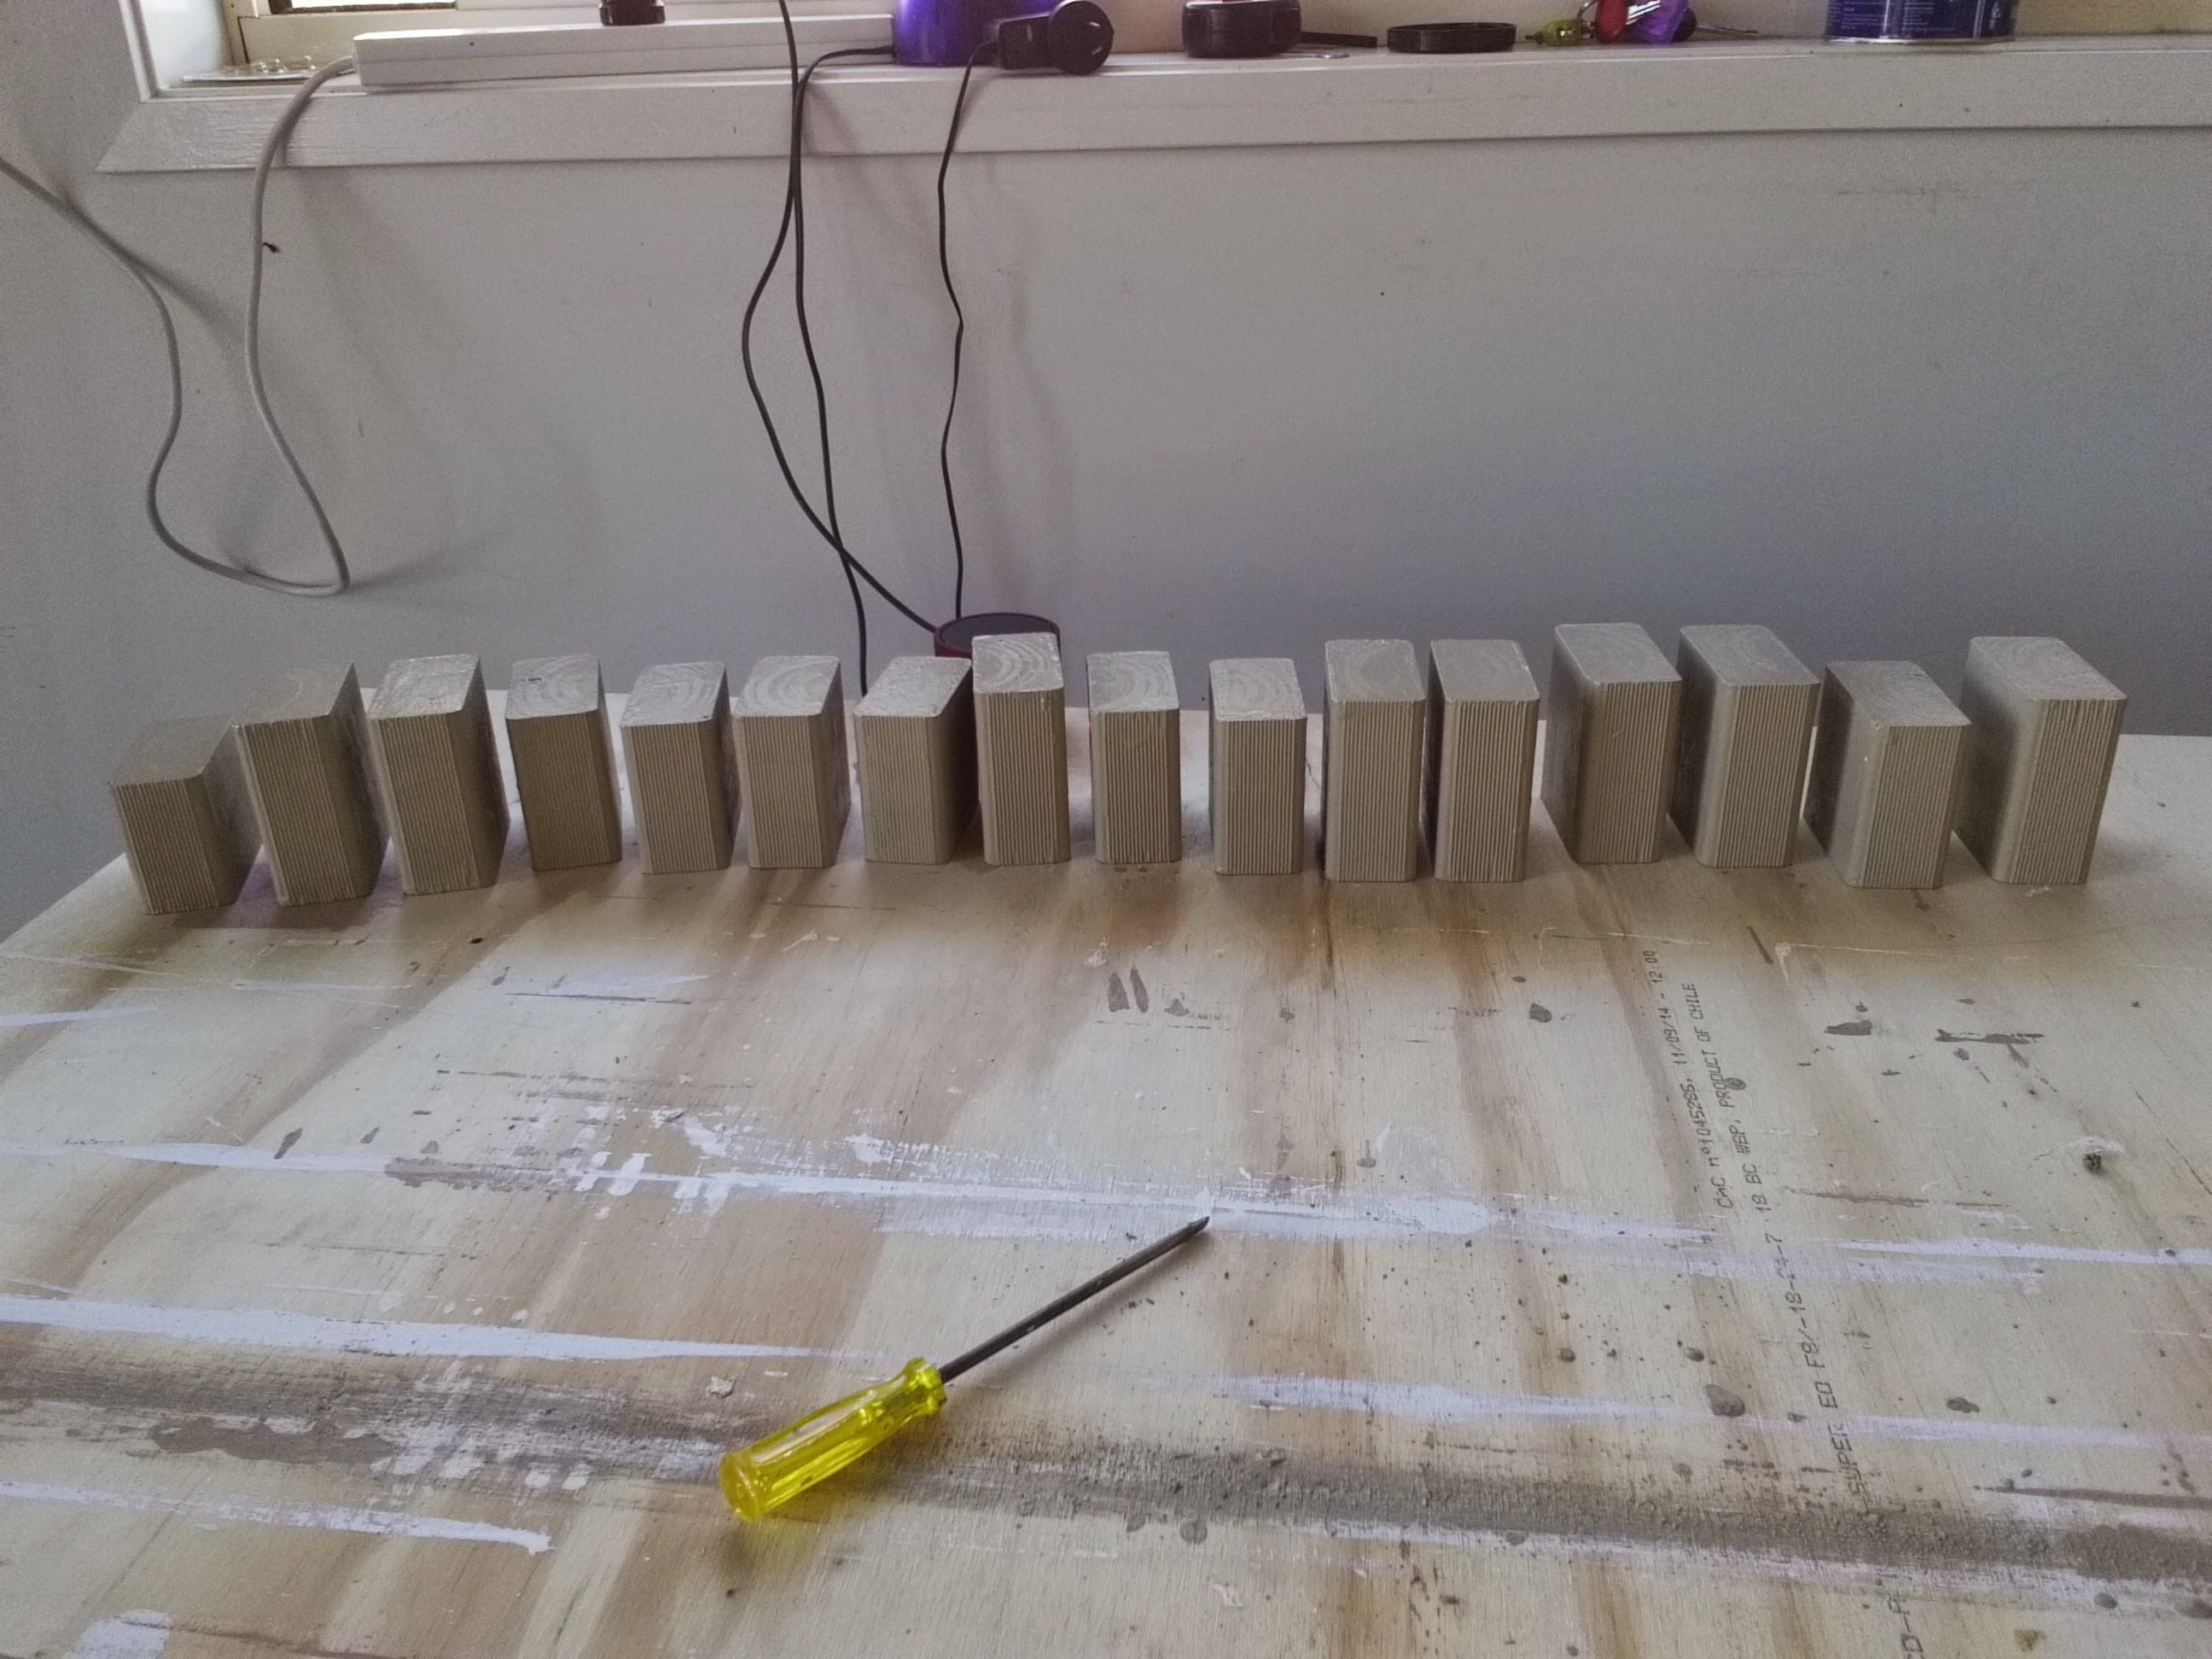
I have to say I could have probably done a better job myself regarding size consistency, but at 12 blocks to be cut, paying 50c a cut was worth it. And the size still worked OK, so not a problem.
Free paint is free, except when you run out of undercoat
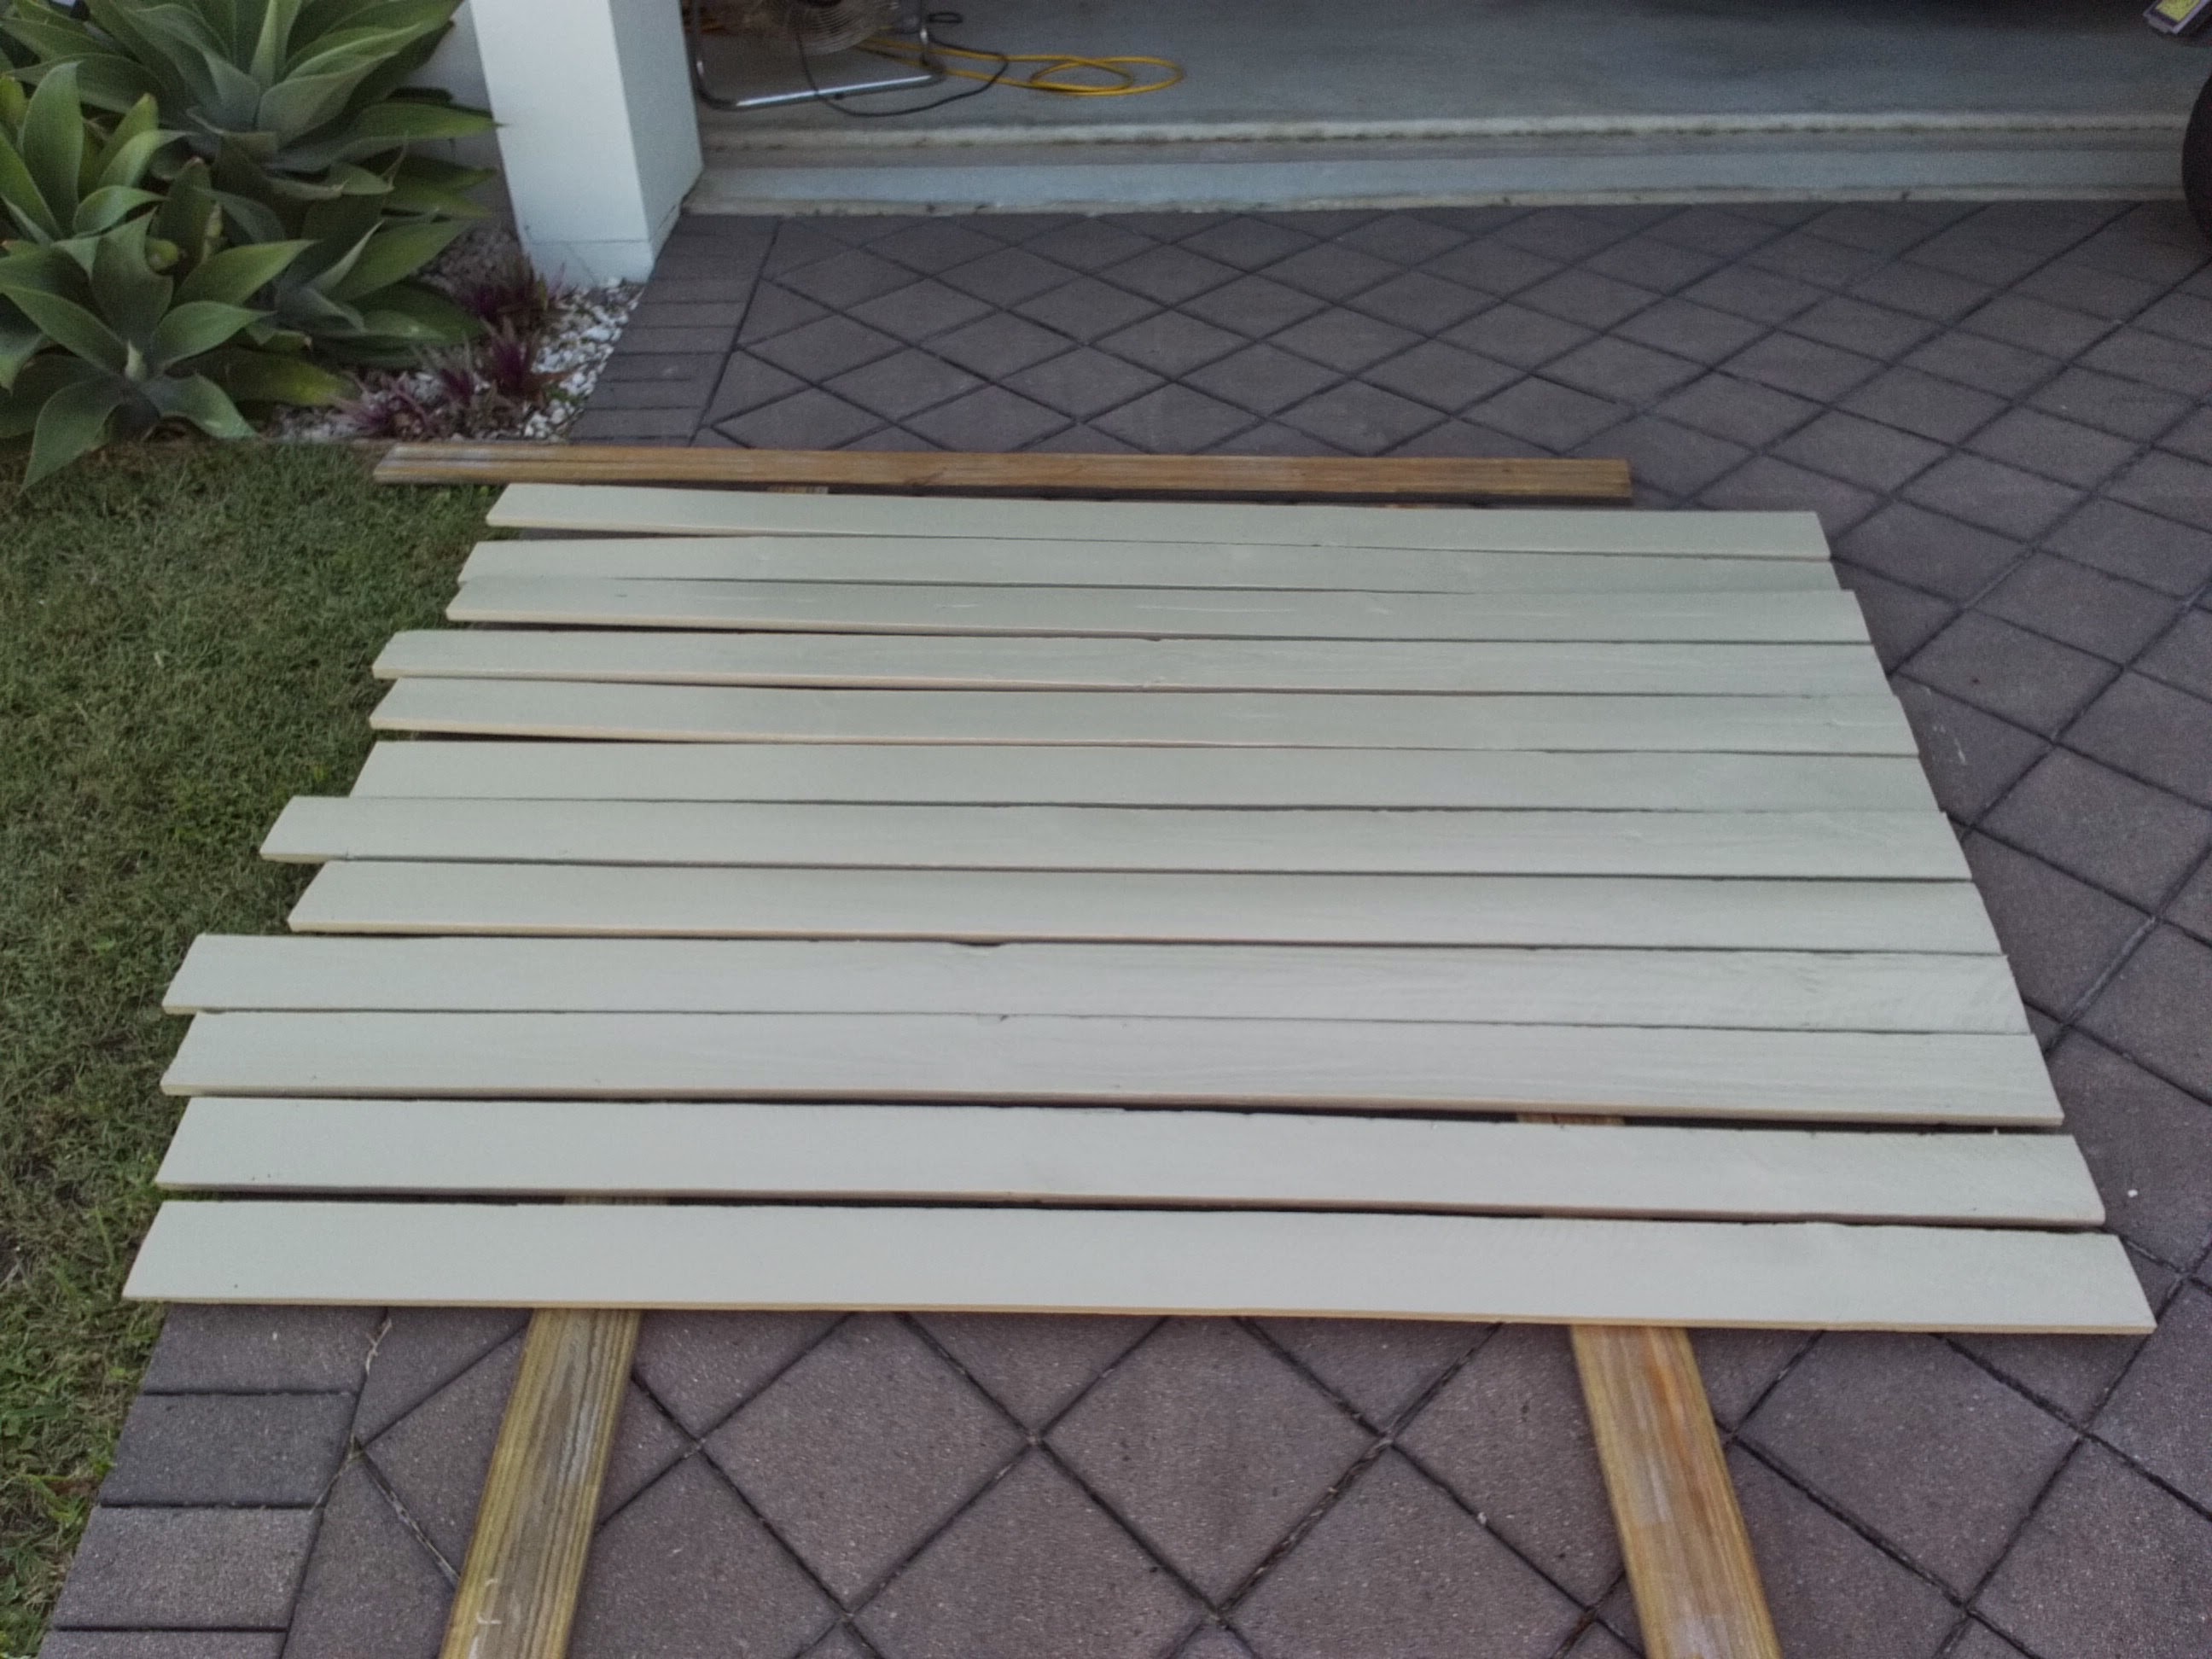
The paint colour was a water-based interior colour, courtesy of Masters North Lakes, after they gave us a whole stack of mistint tins as part of a Sausage Sizzle Fundraiser we conducted. Our childs' Kindergarten couldn’t accept them due to the paint not being non-toxic, so we saved this colour specifically for this job, and gave the other tin to them for minor touch-ups around the Kindy.
Becasue this wasn’t a standard fence paint, I needed to undercoat before painting with two top coats. This quite literally took all weekend last weekend. I nearly had enough undercoat to get the job done, but I had to fork out about $25 for a new tin. Undercoat is a good thing to have around anyhow, so I wasn’t too worried.
Measure twice, then check the fit, then cut
Even though I measured once, measured twice, I still had some issues with measurements. A quick cut here and there fixed that. I got it mostly right. I had assembly knocked over this morning.
The key with this type of thing is to paint the planks first before assembly. Then only cut one end of the plank if you need to make adjustments. This way you don’t need to repaint the raw edge becasue it is abutted against a painted side.
All in all, not a bad job
All in all, they’ve come up really nicely. All up, I spent about $100 including some tools I needed for the job.
Most of the expense was for the plank of plywood I used to convert my glass-top office desk to a workbench. That paid dividends these two weekends for sure.